Cardboard Box Castle: Diy Adventure Playground
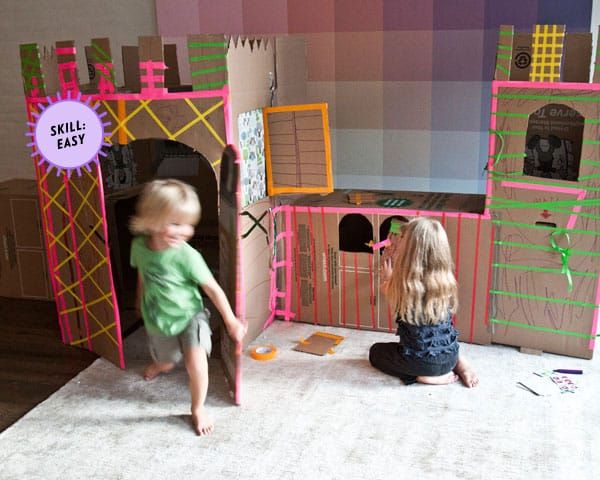
As a child, one of my favorite creative activities was transforming simple cardboard boxes into elaborate castles and forts. I would spend hours decorating the boxes, cutting out windows and turrets, and getting lost in imaginative play. My cardbox creations served as everything from majestic palaces to impenetrable battle stations. Those boxes offered an open-ended play experience limited only by my imagination.
Cardboard boxes provide the perfect blank canvases for kids to construct their own magical 3D worlds. The inexpensive and versatile boxes can be made into almost anything a child dreams up. More than just playing house or pretend, building cardboard box castles and structures fosters creativity, problem-solving, and motor skills. This DIY guide will provide tips and inspiration for constructing an epic cardboard kingdom with your kids.
Benefits of Building Cardboard Box Castles
Building cardboard box castles offers many benefits for kids’ development and learning. According to Raising Children, cardboard box play promotes creativity, imagination, and collaboration.
Constructing castles and structures out of cardboard boxes fosters creativity and imagination as children design and build their cardboard kingdoms. They can create towers, bridges, secret rooms, and more as they bring their imaginations to life. As noted by Free Spirit Publishing, the open-ended nature of cardboard boxes allows for endless possibilities.
The process also promotes problem-solving skills. As kids build their castles, they must think through how to make stable structures and connect pieces together in creative ways. This involves planning, testing, and troubleshooting different designs and techniques.
Working together to build cardboard box castles encourages teamwork and collaboration. As reported by Michigan State University Extension, cooperative play teaches children how to communicate ideas, compromise, and take turns constructing their cardboard creations.
Gather Materials
Cardboard box castles are inexpensive to build because they primarily utilize recycled materials. The main component needed is several large appliance boxes (washing machines, fridges, etc.) for the foundation and walls of the castle. You can often get these for free from your local hardware or appliance store. Avoid using thin boxes like shipping boxes as they won’t be sturdy enough. According to Walmart, large appliance boxes are ideal for cardboard crafts.
You’ll also need plenty of packaging tape or masking tape to assemble the boxes. Use scissors or a box cutter (for parents only!) to cut doors, windows, and shapes in the cardboard. To decorate, gather art supplies like markers, crayons, or paint. The cardboard will make a great canvas for kids to let their creativity run wild!
Make Windows, Doors, and Towers
One of the best parts of building a cardboard castle is creating fun architectural elements like windows, doors, and towers. Cutting out different shaped windows like arched, square, or porthole styles adds visual interest. Make sure to cut window openings on multiple sides and levels of your castle for lots of peekaboo fun. Use safety scissors or a hobby knife to neatly cut out the window shapes.
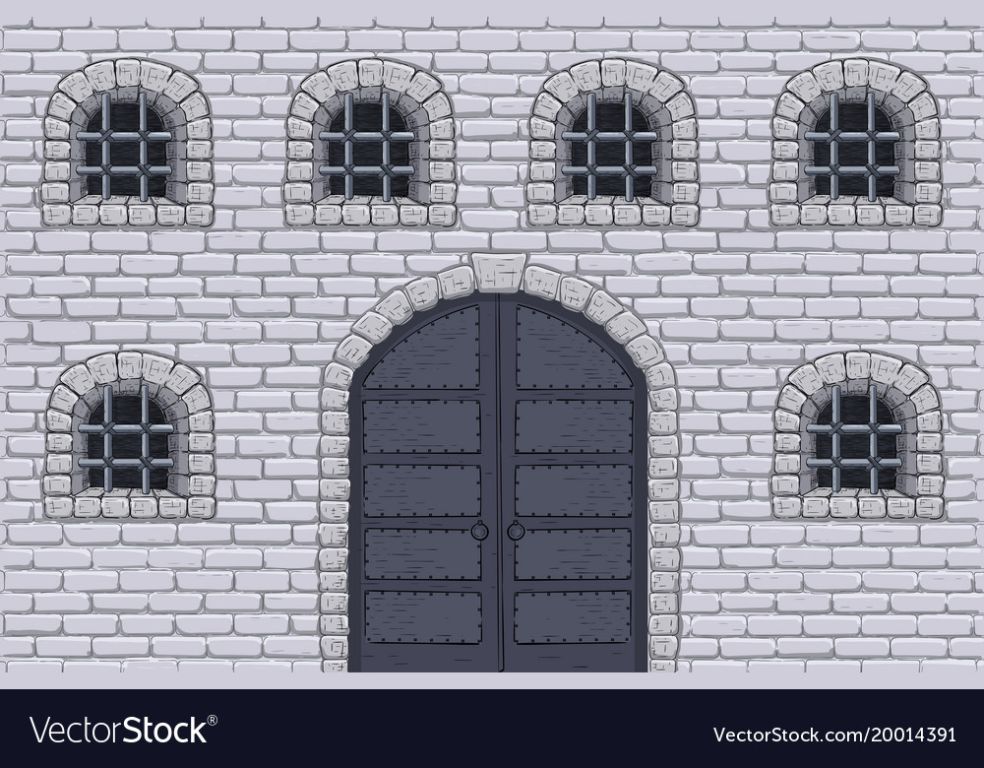
Doors can be cut in arched or rectangular shapes. Make drawbridges from smaller cardboard boxes attached with tape hinges. Towers are easy to build from smaller boxes stacked on top of each other. Build small turrets, ramparts, and parapets for castle detailing. Let kids decorate the towers using crayons,markers or paint.
According to source, painting the cardboard with varnish or glue will strengthen it. When cutting out shapes from cardboard boxes, be sure to reinforce the walls and towers so they don’t collapse.
Decorate the Castle
Once the castle structure is built, it’s time to let kids’ creativity run wild by decorating it. Provide washable markers, crayons, and tempera or acrylic paint and let them decorate the cardboard boxes however they’d like. Encourage them to paint the boxes different colors or draw bricks, stones, windows, wooden plank walls, or whatever their imagination desires.
Kids can also make flags, banners, signs, and other accessories out of cardboard, construction paper, tissue paper, felt, or fabric to decorate the castle. Help them cut out shapes and letters to make signs with their kingdom’s name or phrases like “Keep Out” and “Drawbridge.” Show them how to glue pieces together to make 3D flags that stick out from the towers. Let their creativity shine through in the decorating process.
For more cardboard castle decorating ideas, check out this Pinterest board.
Add Interior Details
Once the main structure of the cardboard box castle is built, it’s time to add interior details to make it feel like a real castle on the inside. Line the floors with scrap fabric, old sheets, or carpet samples to give it a regal look and feel. Use smaller cardboard boxes like shoe boxes to create miniature cardboard furniture inside. Make beds, chairs, tables, and even thrones out of the smaller boxes to fill up the rooms.
Get creative with the cardboard furniture and make unique designs, like a royal throne with tall cardboard box turrets on the sides and decorative cardboard on the back. Or make a large royal bed with a cardboard box frame and soft blanket on top. The possibilities are endless when furnishing the interior of your cardboard box castle.
The interior details will encourage kids to imagine living in the castle and take on fantasy adventures and imaginative play. With furnished interiors, the cardboard box castle truly transforms into a magical place for kids. Just be sure to use only sturdy boxes for furniture and reinforce load-bearing joints with tape for safety.
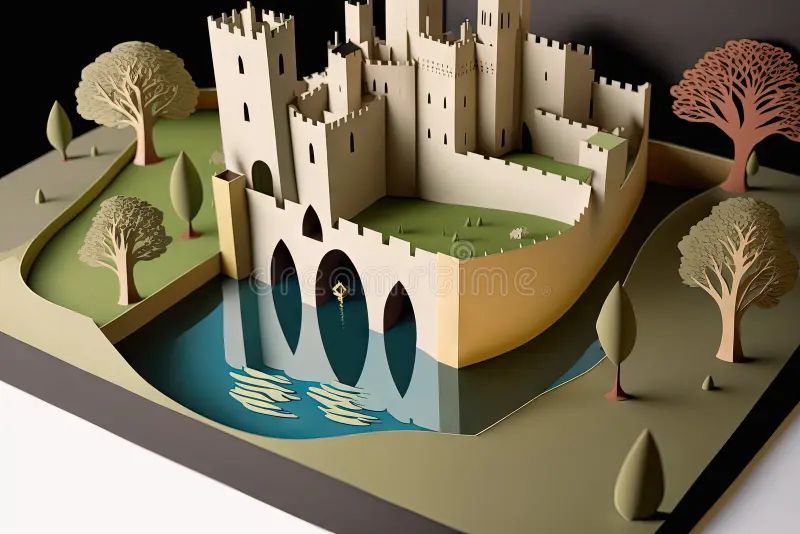
Build a Moat
A cardboard box castle isn’t complete without a moat to protect it. You can easily make a moat using common household items. Blue fabric, streamers, or long balloons filled with water make great “water” for your moat. Drape the blue material around the base of your cardboard castle. For extra realism, add plastic fish, frogs, turtles and crocodiles. Small pirate ships and figures bring the moat to life. Refer to https://www.pinterest.com/pin/vbs-2013-draw-bridge-with-moat–110127153361086753/ for a photo of a cardboard castle moat made with blue streamers and decorated with plastic animals.
You can make your moat as simple or elaborate as you like. Get creative with materials like aluminum foil for armor, toilet paper rolls for cannons, and cardboard for drawbridges. Building and decorating the moat can be just as much fun as constructing the castle itself. Your kids will love defending their kingdom from invaders and sending their pirate ships sailing across the moat.
Plan Adventures
A cardboard box castle opens up a world of imaginative play and adventure. Here are some ideas for acting out exciting scenarios within your handmade castle:
– Stage sieges, battles, feasts, and celebrations. Defend the castle from invaders or lay siege to it yourself. Celebrate victories with a royal feast.
– Assign royal roles and costumes. Crown a king, queen, prince and princess. Knights, jesters and ladies-in-waiting can all join in the fun.
– Act out epic tales of dragons, wizards and sword fights. Let your kids’ imaginations run wild!
– Perform plays and concerts within the castle walls. Build a royal theater and put on shows for parents.
– Use the castle as a springboard for crafting stories. What adventures will unfold in this magical kingdom?
A cardboard box castle can become anything kids dream up. Encourage lots of imaginative play, roleplaying and storytelling. With a few simple materials, you can spark their creativity and take them to fantastical realms of adventure.
Safety Tips
When building and playing in a cardboard castle, safety should be a top priority. Here are some tips to keep in mind:
Supervise use of scissors and box cutters. These tools, while helpful in constructing the castle, can be dangerous if not used correctly. Make sure kids have adult supervision when using them (Source).
Watch out for tripping hazards from uneven castle floors. Cardboard can easily shift and create lumps and bumps on the floor. Make sure to frequently check the floor surface and flatten out any raised areas (Source).
Check the castle for stability and secure all platforms and walls. You don’t want components crashing down while playing inside. Use plenty of tape to reinforce connections.
Ensure proper ventilation inside the castle, especially if decorating with paints or other supplies. Open windows, doors, or use a fan to circulate fresh air.
Supervise playtime inside the cardboard creation and set rules for safe play. Climbing on unstable structures and roughhousing could lead to injuries.
Keep away from open flames, heat sources, or electrical outlets. Cardboard is flammable and susceptible to heat damage.
When playtime is over, break down and properly dispose of the cardboard to prevent future hazards. Cardboard can degrade over time.
Take safety precautions, but don’t let them prevent you from having fun building and playing in an imaginative cardboard world!
Conclusion
Cardboard box castles provide an endless source of fun and adventure for kids. As we’ve seen, with just a few simple materials, cardboard boxes can be transformed into elaborate castles, pirate ships, moon bases, and anything else kids can imagine. Building and playing with cardboard box creations is not just fun, but has many benefits for developing creativity, engineering skills, and social-emotional growth. Kids learn so much through hands-on, open-ended play like this.
Hopefully the tips here have inspired you and your kids to have new adventures with cardboard boxes. There’s no limit to what you can create. We’d love to see photos of the castles and structures you build! Please share your photos with us, so we can all get inspiration for future cardboard creations.